Friday, July 4, 2014

Design

The design was not simple. At least to me.
It took many hours of many days of work to make sure I had a good design to built. I had a previous design which was at the time I thought was beautiful but then I realized it had some cheese proportions going on. Then I started redesigning it and this is what came out. I did not make the design based on anyone else's. I had references but they were just to give me an idea of how it should be. I don't think I've ever seen the tornado curve on the bottom limb anywhere else. I just though it being circular like it usually is  on other harps was too boring and was missing something so I added that and I was amazed how right it looked. Before on the old design which I built on pine wood as you can see had a head point that was facing upright giving a celtic look and I really liked but when I started tweaking with the curve of the limbs I've noticed it wasn't celtic anymore so I made it face frontwards. The old design had more male curves which I like very much but I decided to switch to female curves for this harp.


This is the first harp I made. It is made out of pine. I added the knuckle on the bottom limb because it made sense and to match the top limb. I've never seen other harps with that so it may be original. Who knows. Nothing is original nowadays :(


This design did not work because it had a really small box which makes it have no acoustic. So sad. the high notes sounded fine but with not much volume on the box, the low notes sounded bad, it just had no sound. And the walls were too thick which I am still not sure if it makes a difference. I mean, guitars, violin, ukeleles, etc, all these string instruments have a thin wall so that may influence the sound right? but I've seen a harp making video which the guy uses thick walls on his harps and it sound normal. So I'm still not sure if it makes a big difference.


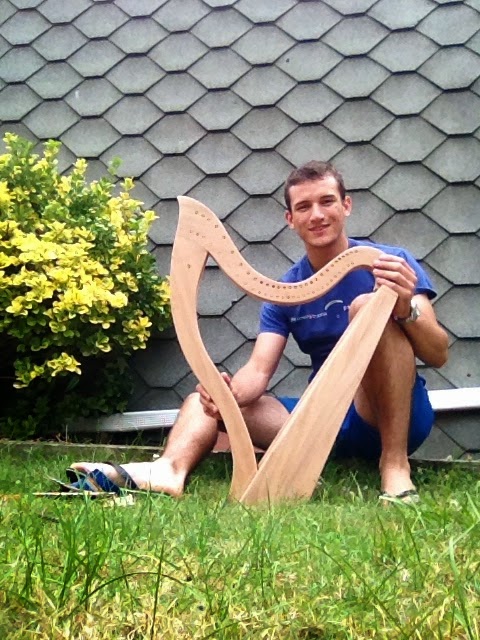
Me and my Baby

Leo and Sapele Harp


And behold


Finished it with olive oil and beeswax. Very easy to make and apply. What your looking at is one coat only of the finish and it smells sweet.


Caps

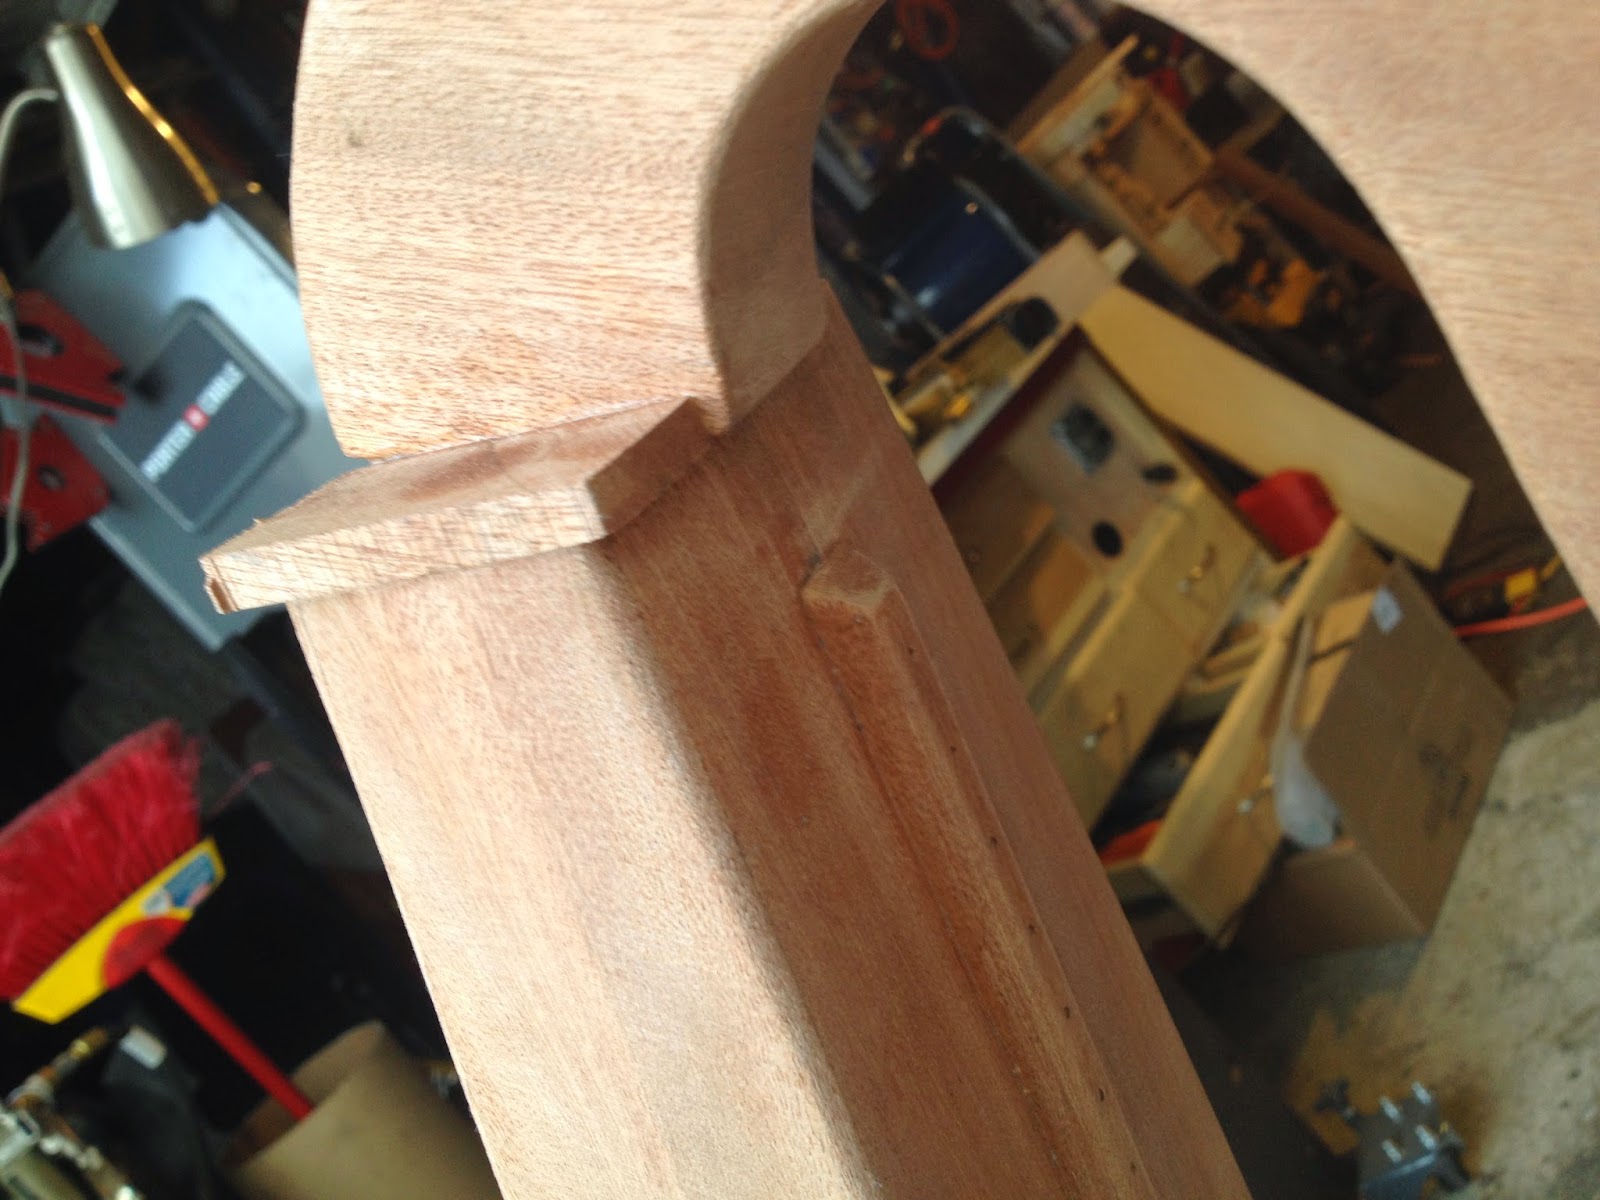
The caps was a pain to make. I had to make sure the fitting was perfect which took a long time to sculpt. Then I had to file it down which took more than I though.
I made the left cap removable so you can take it off and play the harp with the sound going right in your ear :)


The Back


The final panel to be glued.

I drilled the holes before the glue but then after I glued I decide to make two more holes which makes the total of four holes (see next post)

Then I added Psalm 95:1
O come, let us sing unto the Lord. Let us make a joyful noise to the rock of our salvation.


Starting to look like something right?


Glueing the sides


Glueing the side panels with 2765 clamps


And there it is. I added those four blocks of wood inside to help the back panel glue better since the walls are very thin which otherwise could make the connection not strong enough.


Glueing limbs and panels


So here you will see me glueing, drawing, glueing and glueing. The sides of the harp I glued together to cut together since they are symmetric then I separated then.

To glue the ground base to the front panel I had to nail both sides and use that as a way to pull the wood tight to each other with electrical tape. Worked out great.


Making these thin panels was though.
Originally it was a 30"L x 8"W x 1 3/8"H board ($15) so I had to cut it in half going long ways then cut very thin slices all on the table saw. But the blade only went 3" high so since the board is now half the width which is 4" I had to cut twice, I had to flip it to get everything. And it was so much pressure on the machine that the power went out very often. I was afraid the machine could over run and get ruined but there is a safety feature that shuts it down when it's over used by people like me.


The base had to be cut in two angles on its side. Because its longer on the front and shorter on the back. And it goes up in a closing angle as well. Not many chances to do that on the table saw :)


This little fella will help with holding the front panel from exploding outwards with 400 pounds of string tension. It will be glued with a biskett going to the limb to secure.


And here it is standing


The Limbs Cut


On a simple board, draw on it based on the computer design and coordinates and then off we go to the band saw and jig saw


Beeswax and Olive Oil Finish

 Beeswax and olive oil (1:3) used to stain/finish the harp, one coat. AMAZING!

Pissas flute